Cheesy Chickpea Chips
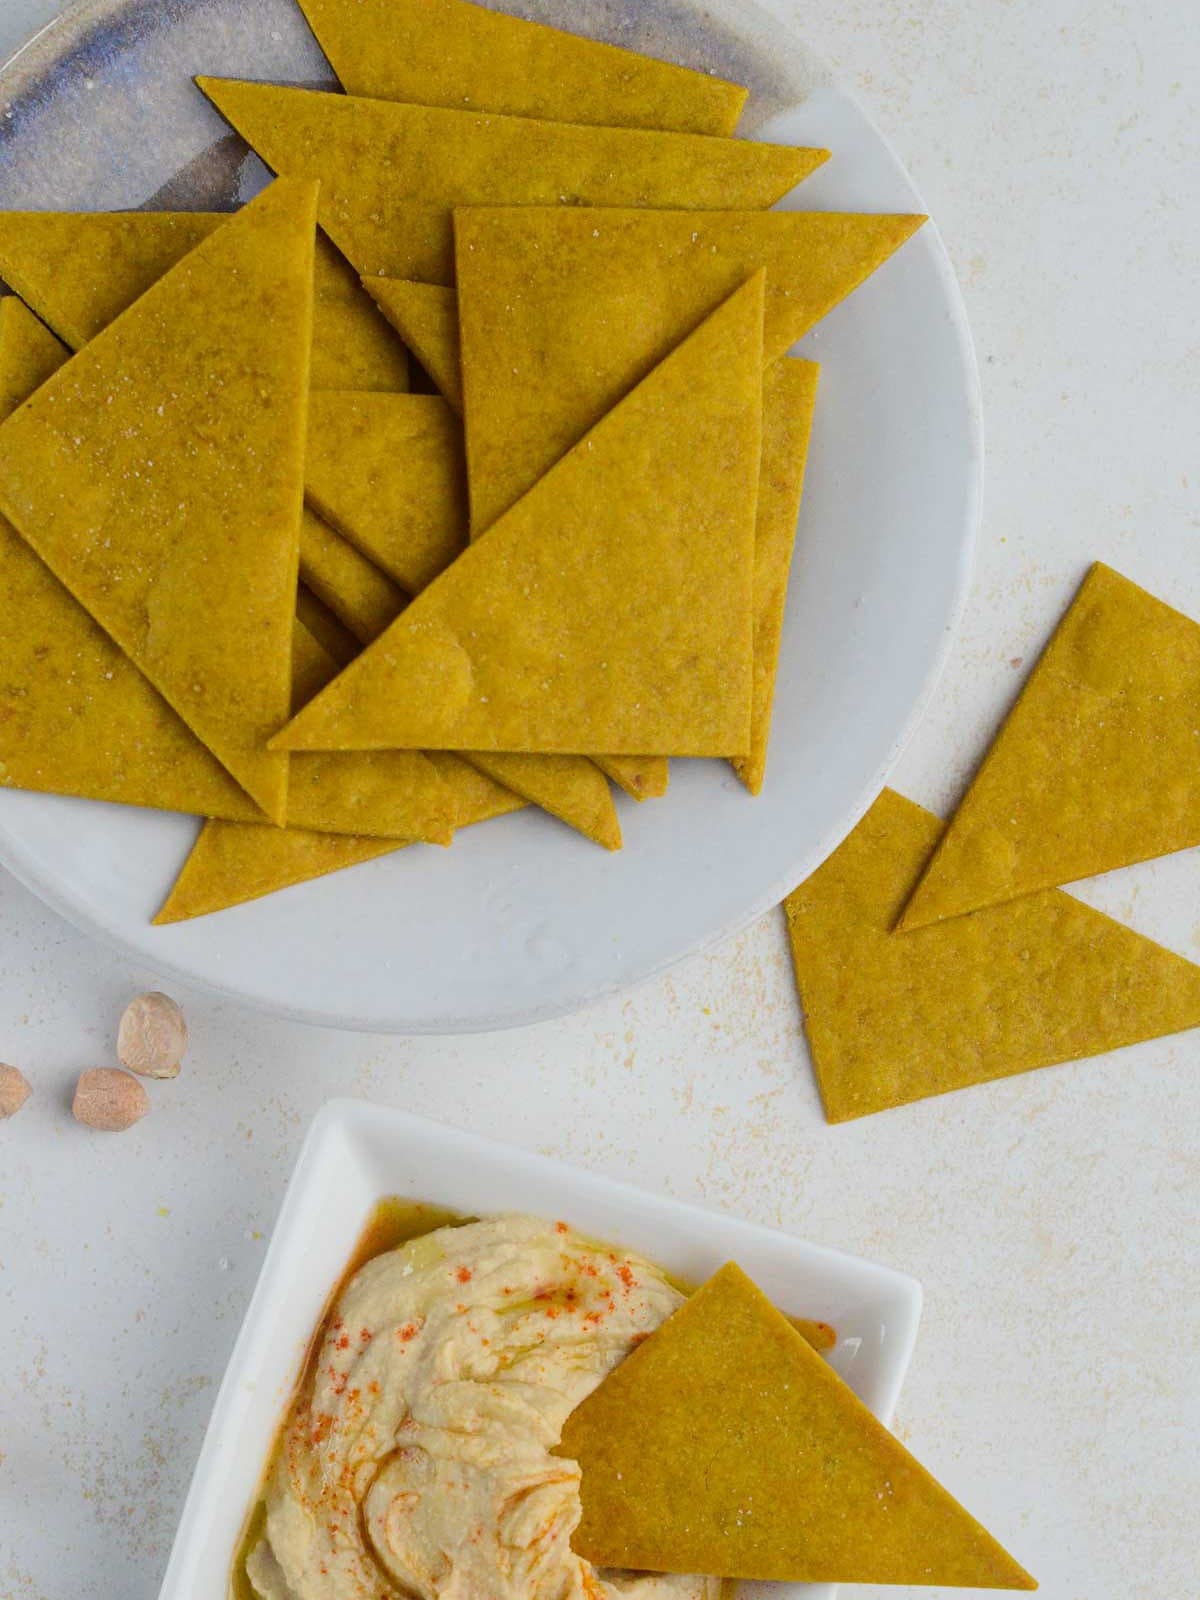
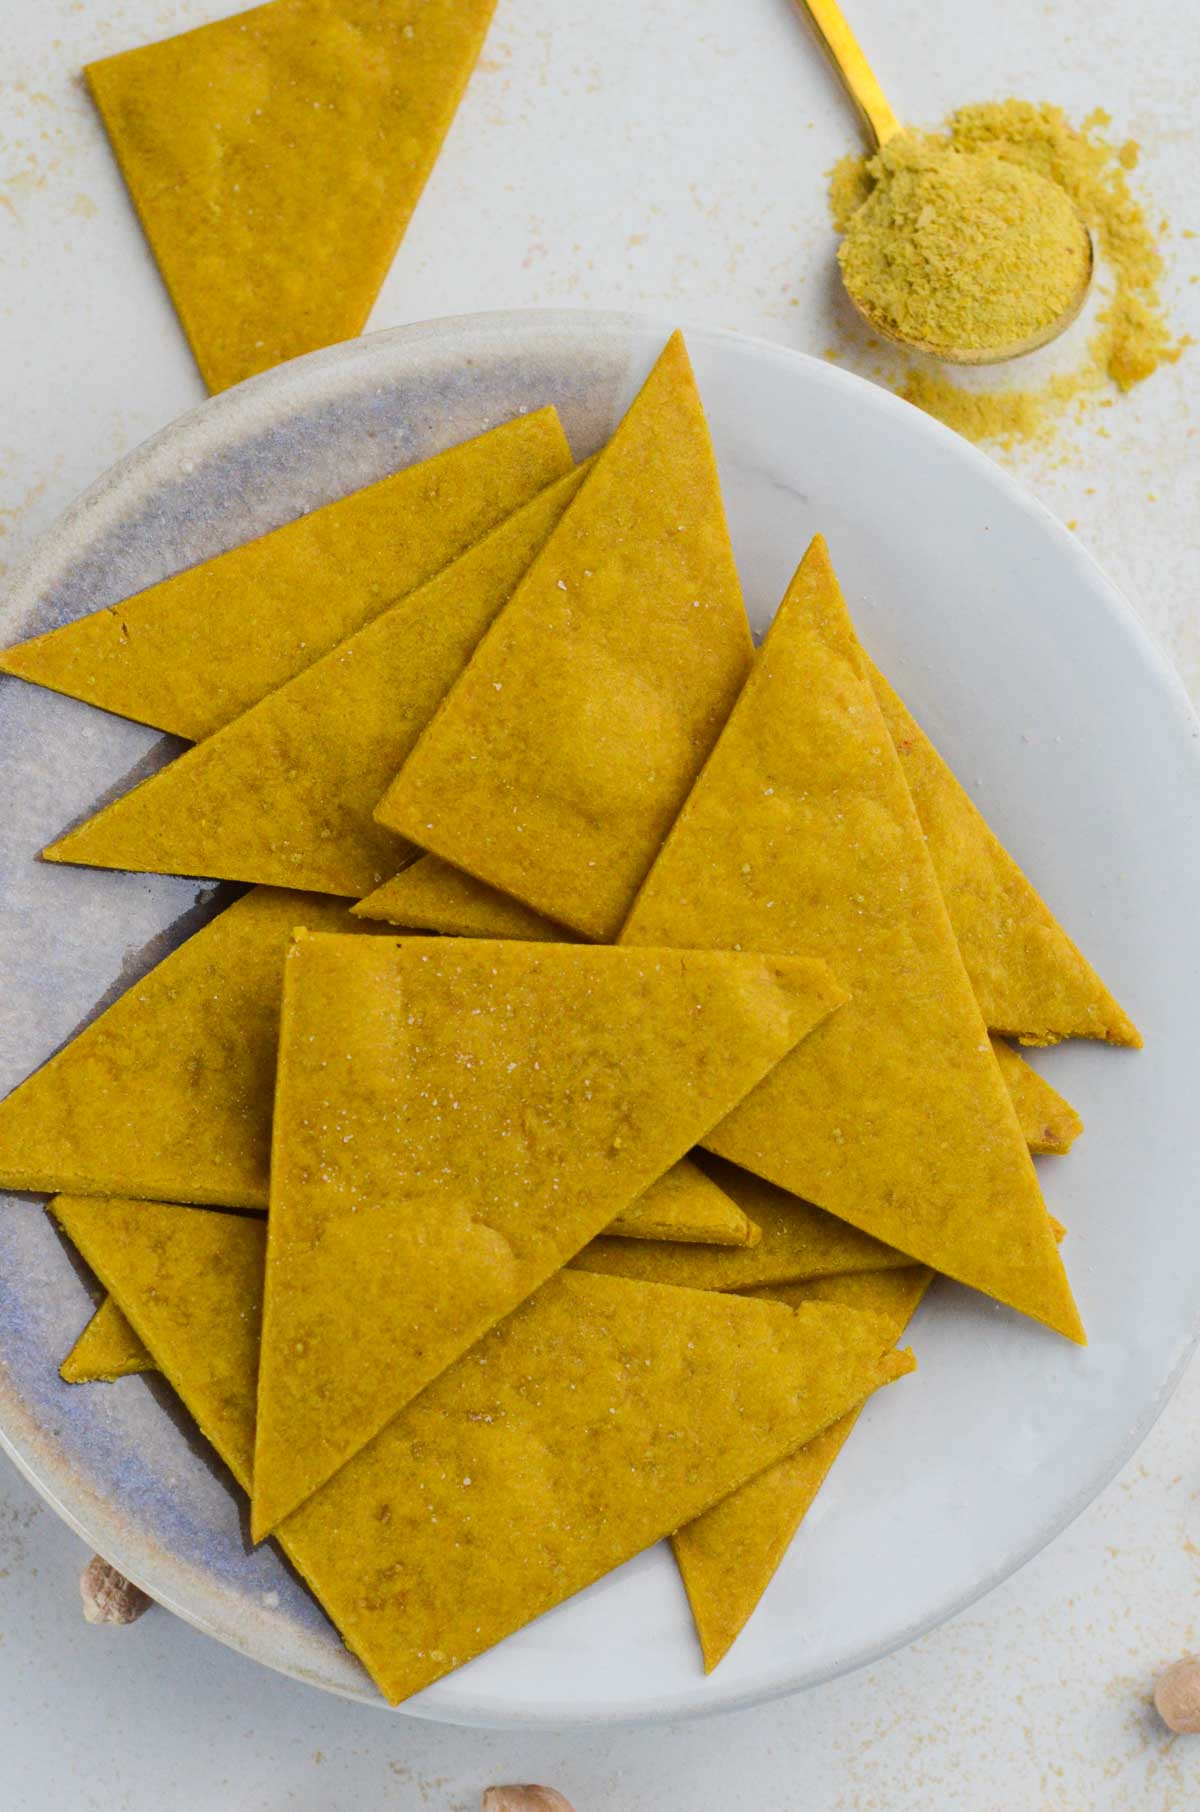
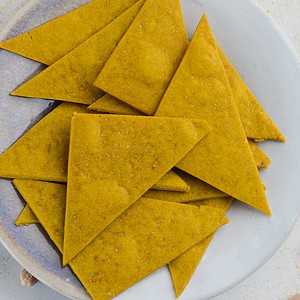
These crispy & cheesy chickpea chips are a delicious healthy snack that are ready in no time! Dip them in hummus, guac, salsa, or enjoy their cheesy flavor by itself.
What you’ll love about this recipe:
These homemade chickpea chips are great for a simple snack throughout the week! These are a great idea for those who are gluten-free or looking for a high protein snack. I love these an alternative to my usual tortilla chips or pretzels.
They are totally dairy-free, but regardless if you follow a vegan diet, you will love them!
Looking for more amazing snacks? Try out these!
- Homemade Dill Pickle Potato Chips
- Creamy Almond Dip
- Vegan Taquitos with Spicy Queso
Chickpea Chip Ingredients
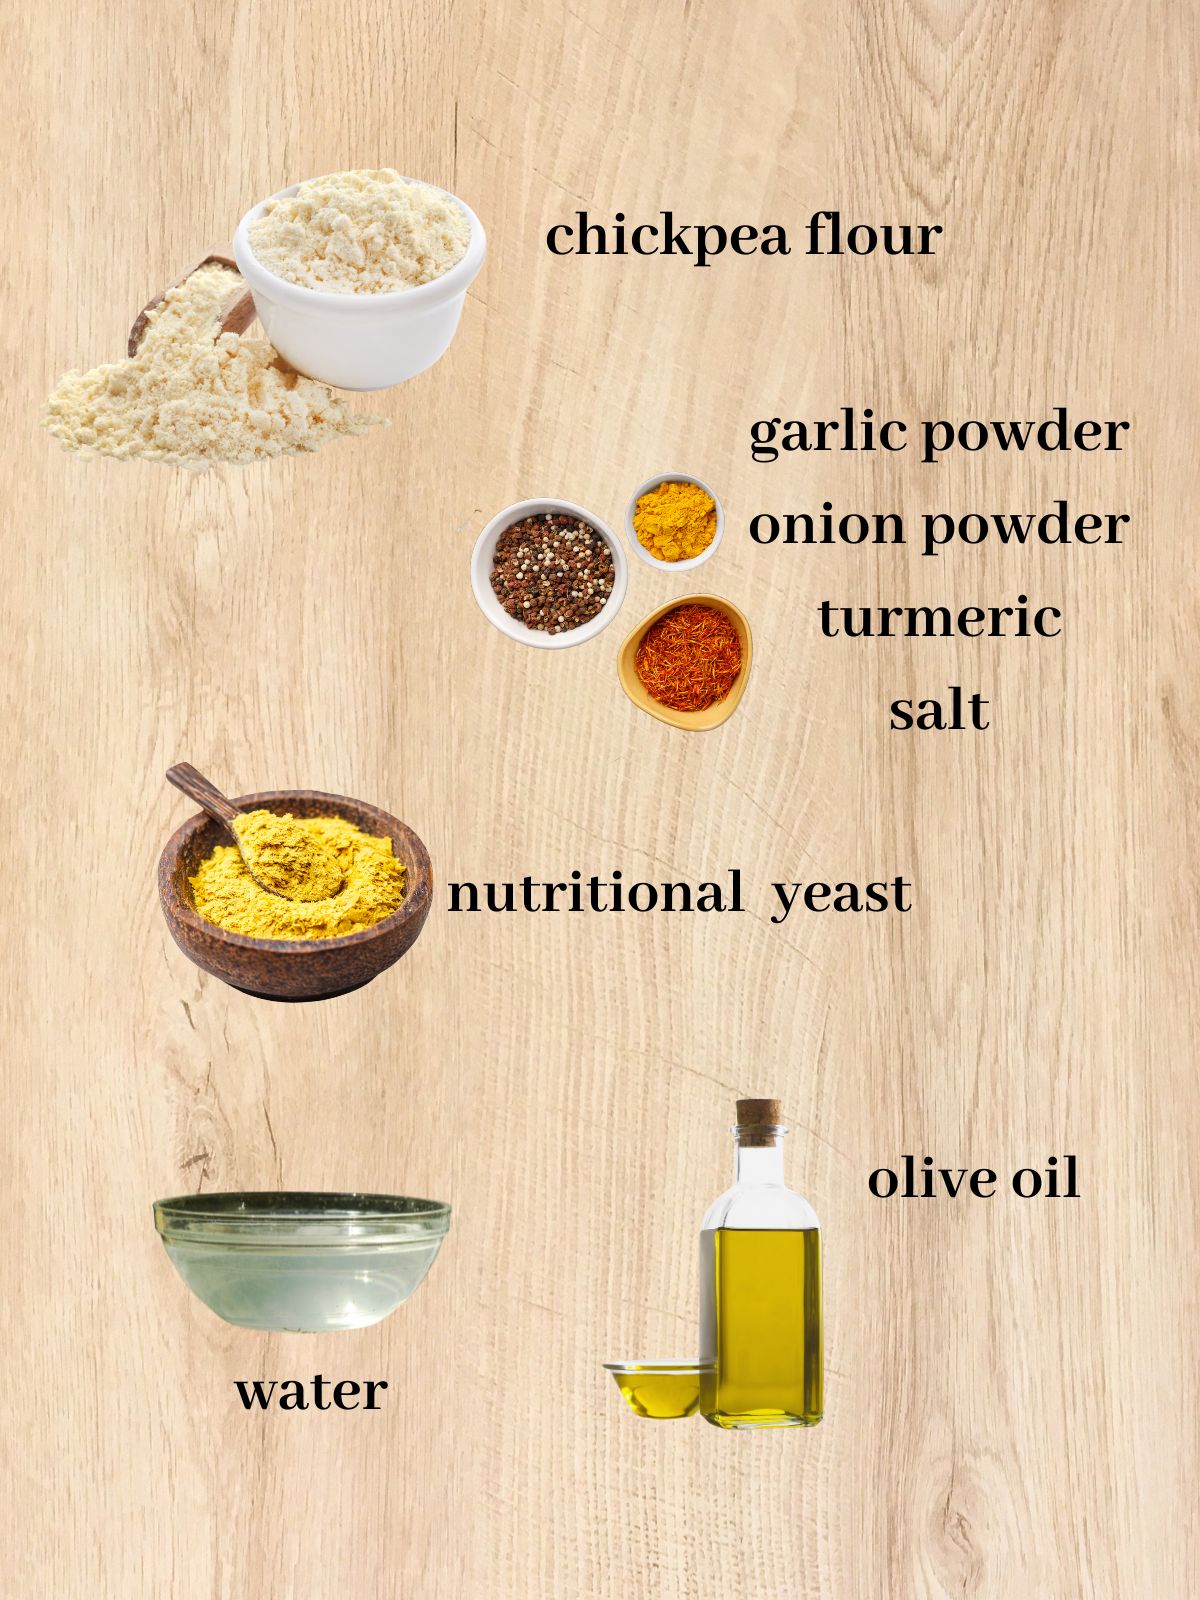
Ingredient notes:
- Garbanzo beans/chickpeas (dried) OR already prepared chickpea flour: This is the main ingredient, of course! For ease, you can use already packaged chickpea flour which you can find at most grocery stores or on Amazon. You can also grind up your own dried chickpeas into a flour (see below how to do it).
- Spices: garlic powder, onion powder, and salt
- Nutritional yeast: Will give it that delish cheesy flavor!
- Olive oil: Adds to the crispiness of the chips
- Water: Make sure it’s warm water.
See recipe card for full ingredient list and quantities.
▶︎Feel free to switch it up with different spices such as chili powder, herbs (like oregano), cumin, and more!
How to Make Chickpea Chips
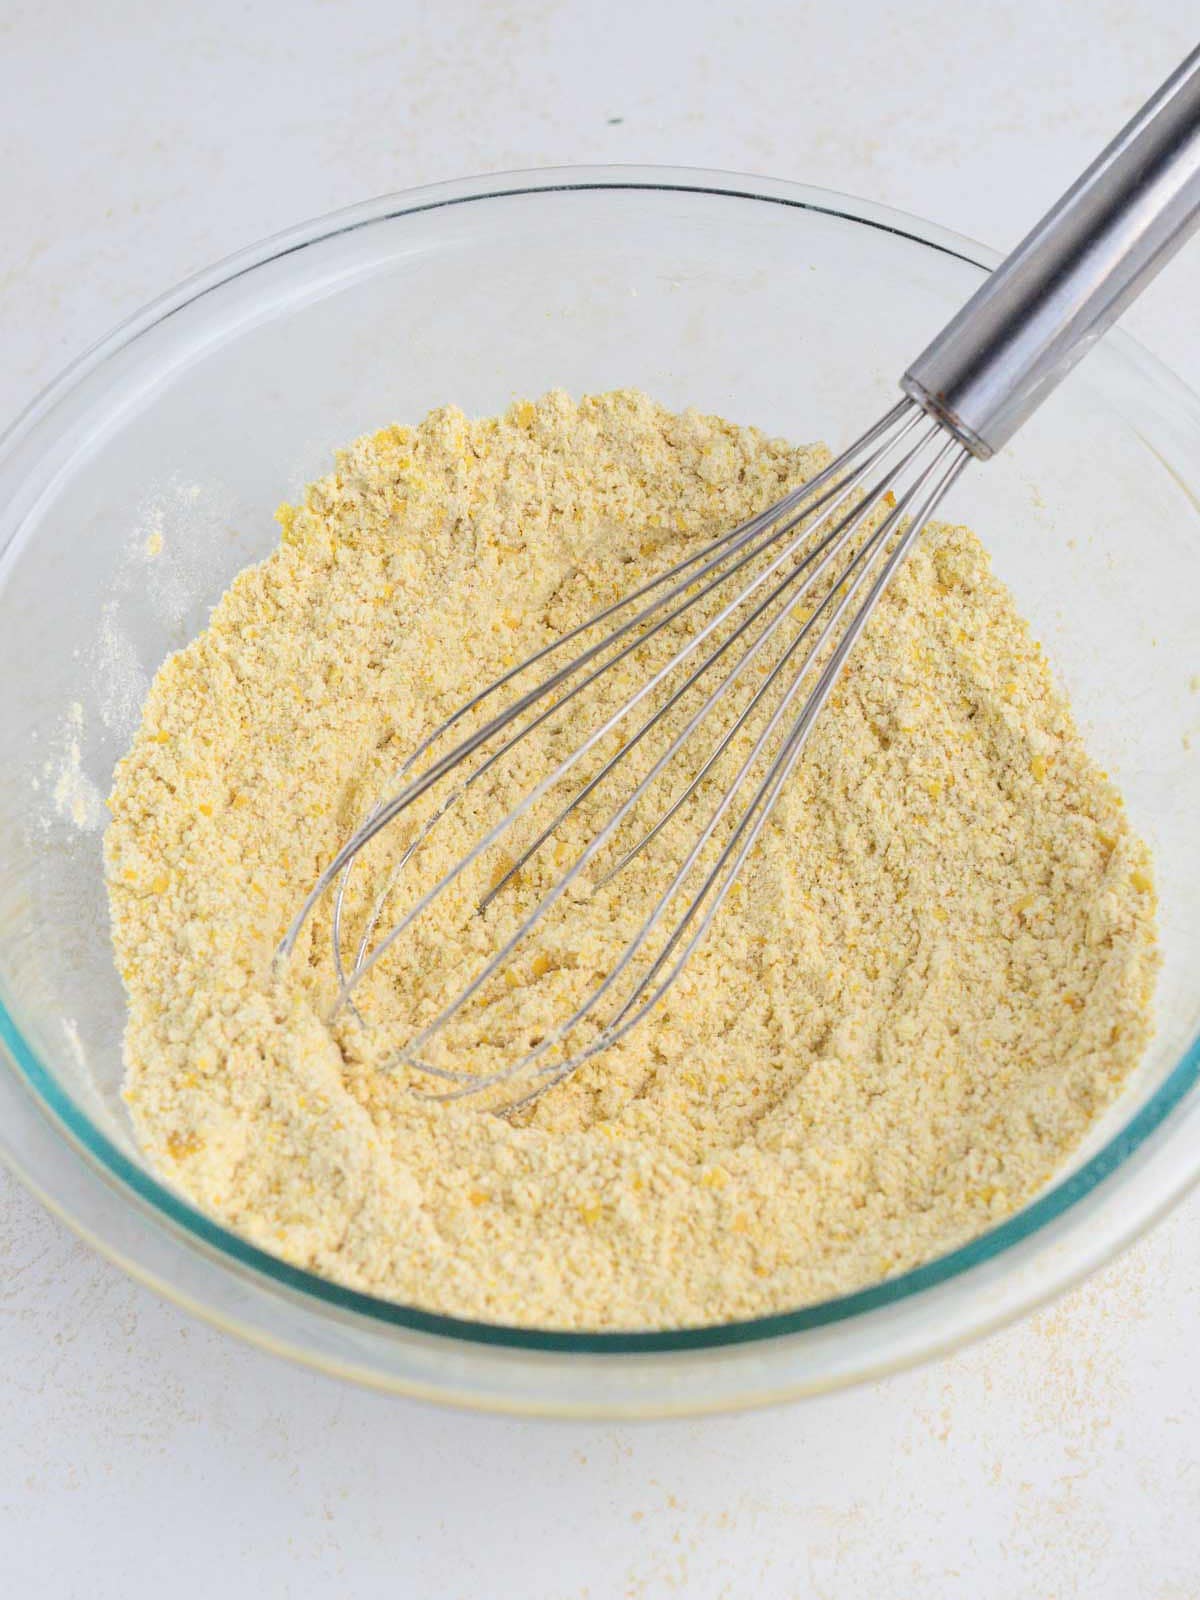
Step 1: Preheat oven to 325 F. In a large bowl, combine chickpea flour with nutritional yeast and spices and whisk until fully combined.
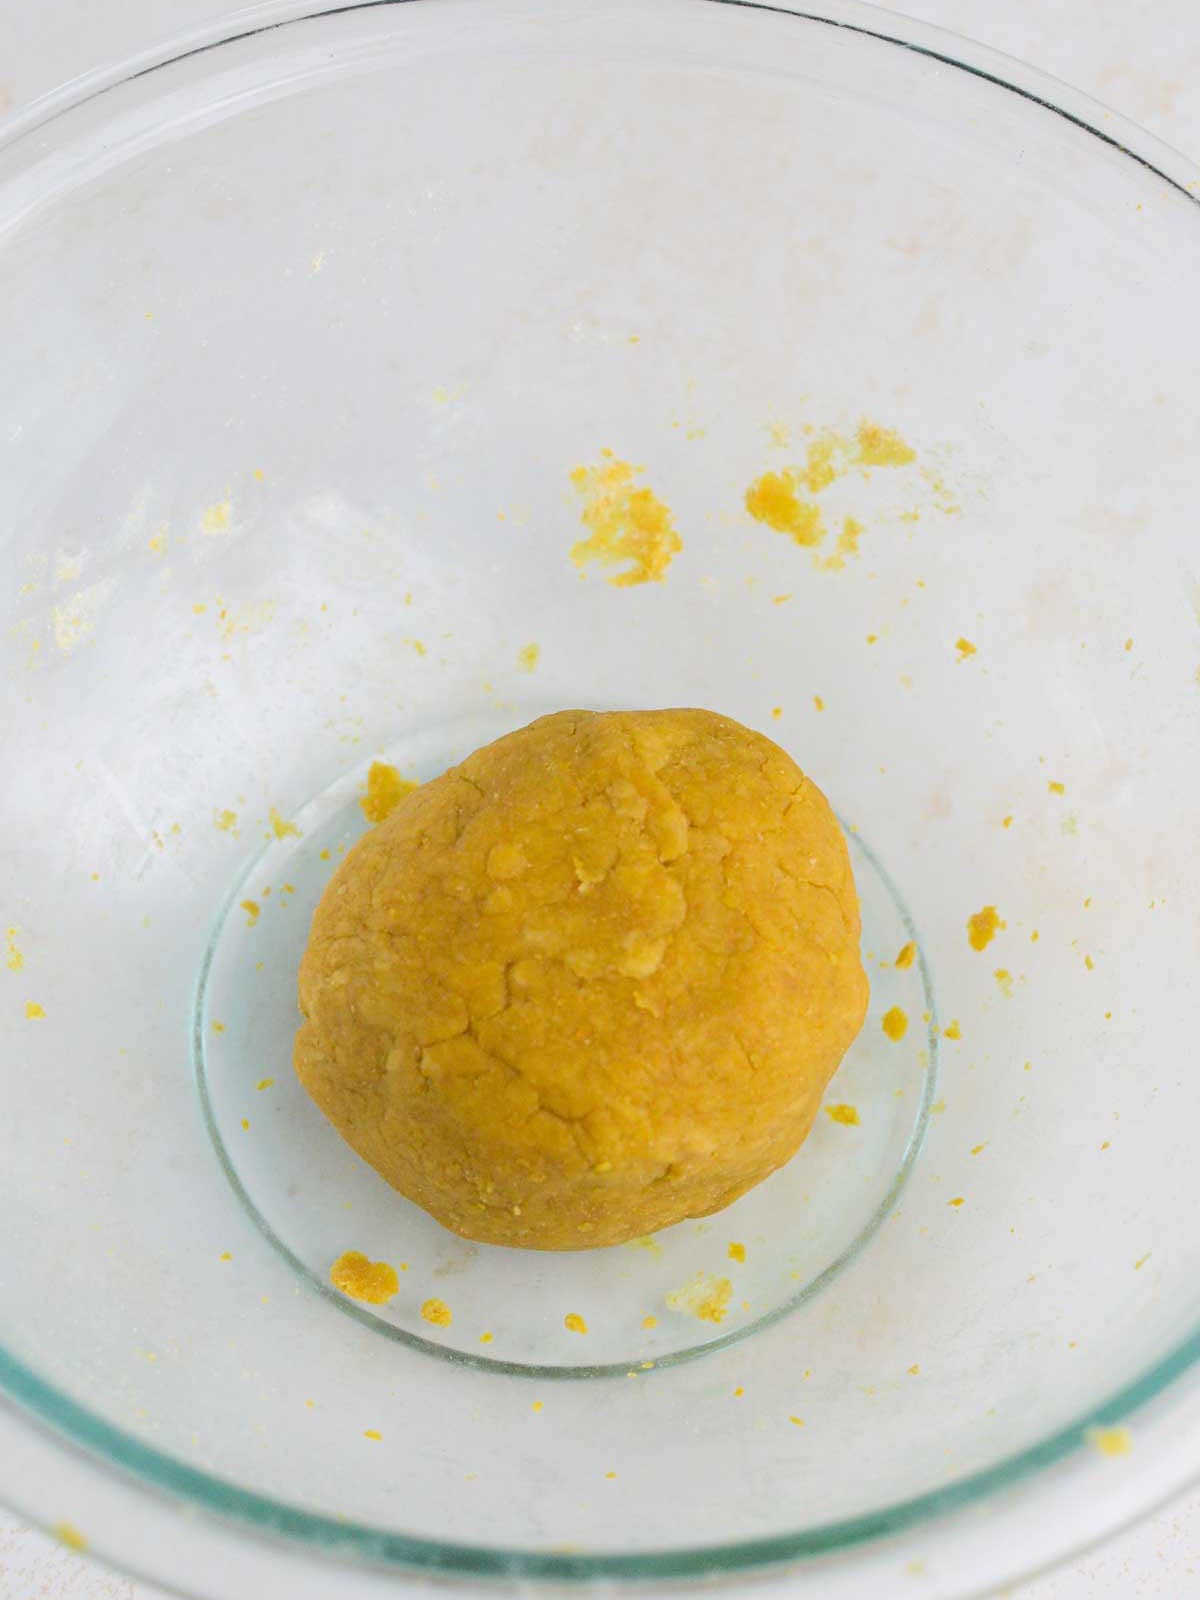
Step 2: Pour in your olive oil and 4 tbsp of warm water. Mix with a spoon at first then use your hands to incorporate the liquid into the dough. Add another 0.5 tbsp of water at a time until the dough is soft but not sticky. Form into a dough ball.
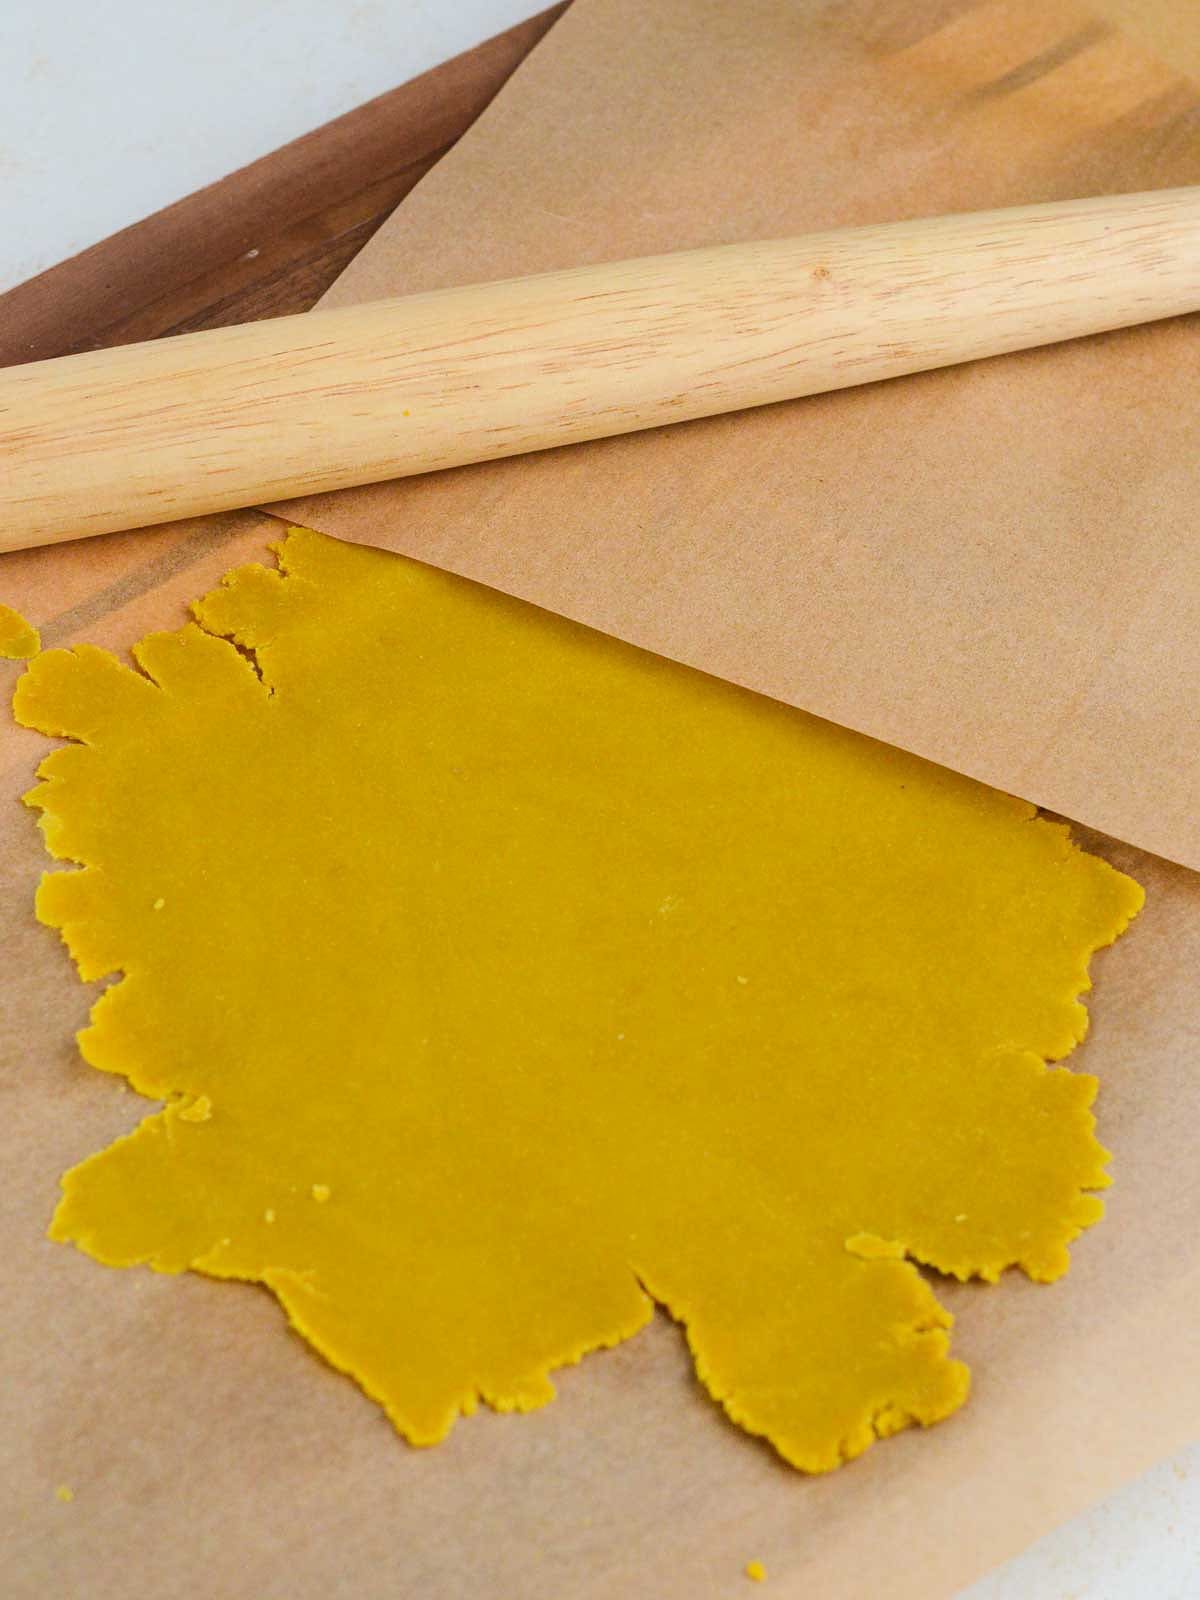
Step 3: Place dough ball between two pieces of parchment paper. Using a rolling pin (or a wine bottle) gently roll out the dough in multiple directions to create a large square. Roll the dough to be about 1/8-1/4 inch thick.
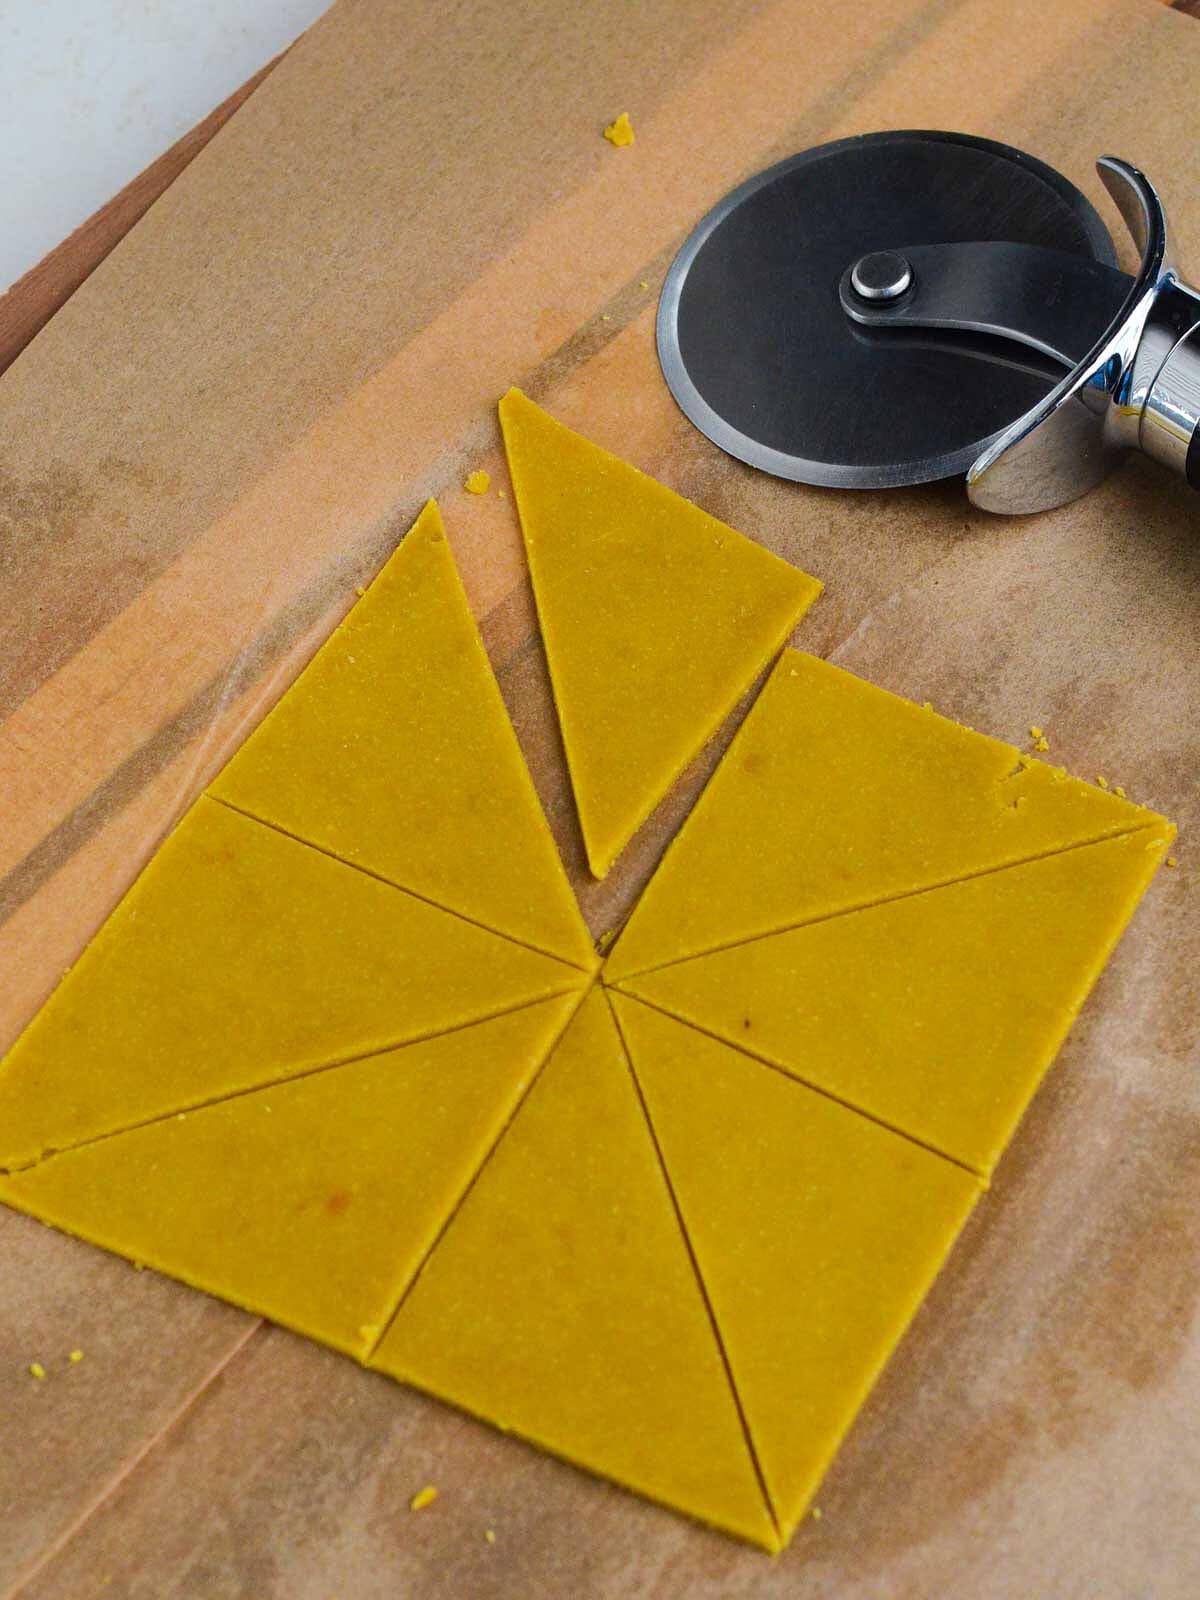
Step 4: Using a pizza cutter or sharp knife, cut out a square. Save the extra cuttings to roll into a dough ball again to make more chips. Cut your square into triangle shapes or whatever shape chip you prefer. Place them on a parchment lined baking sheet evenly with no overlap.
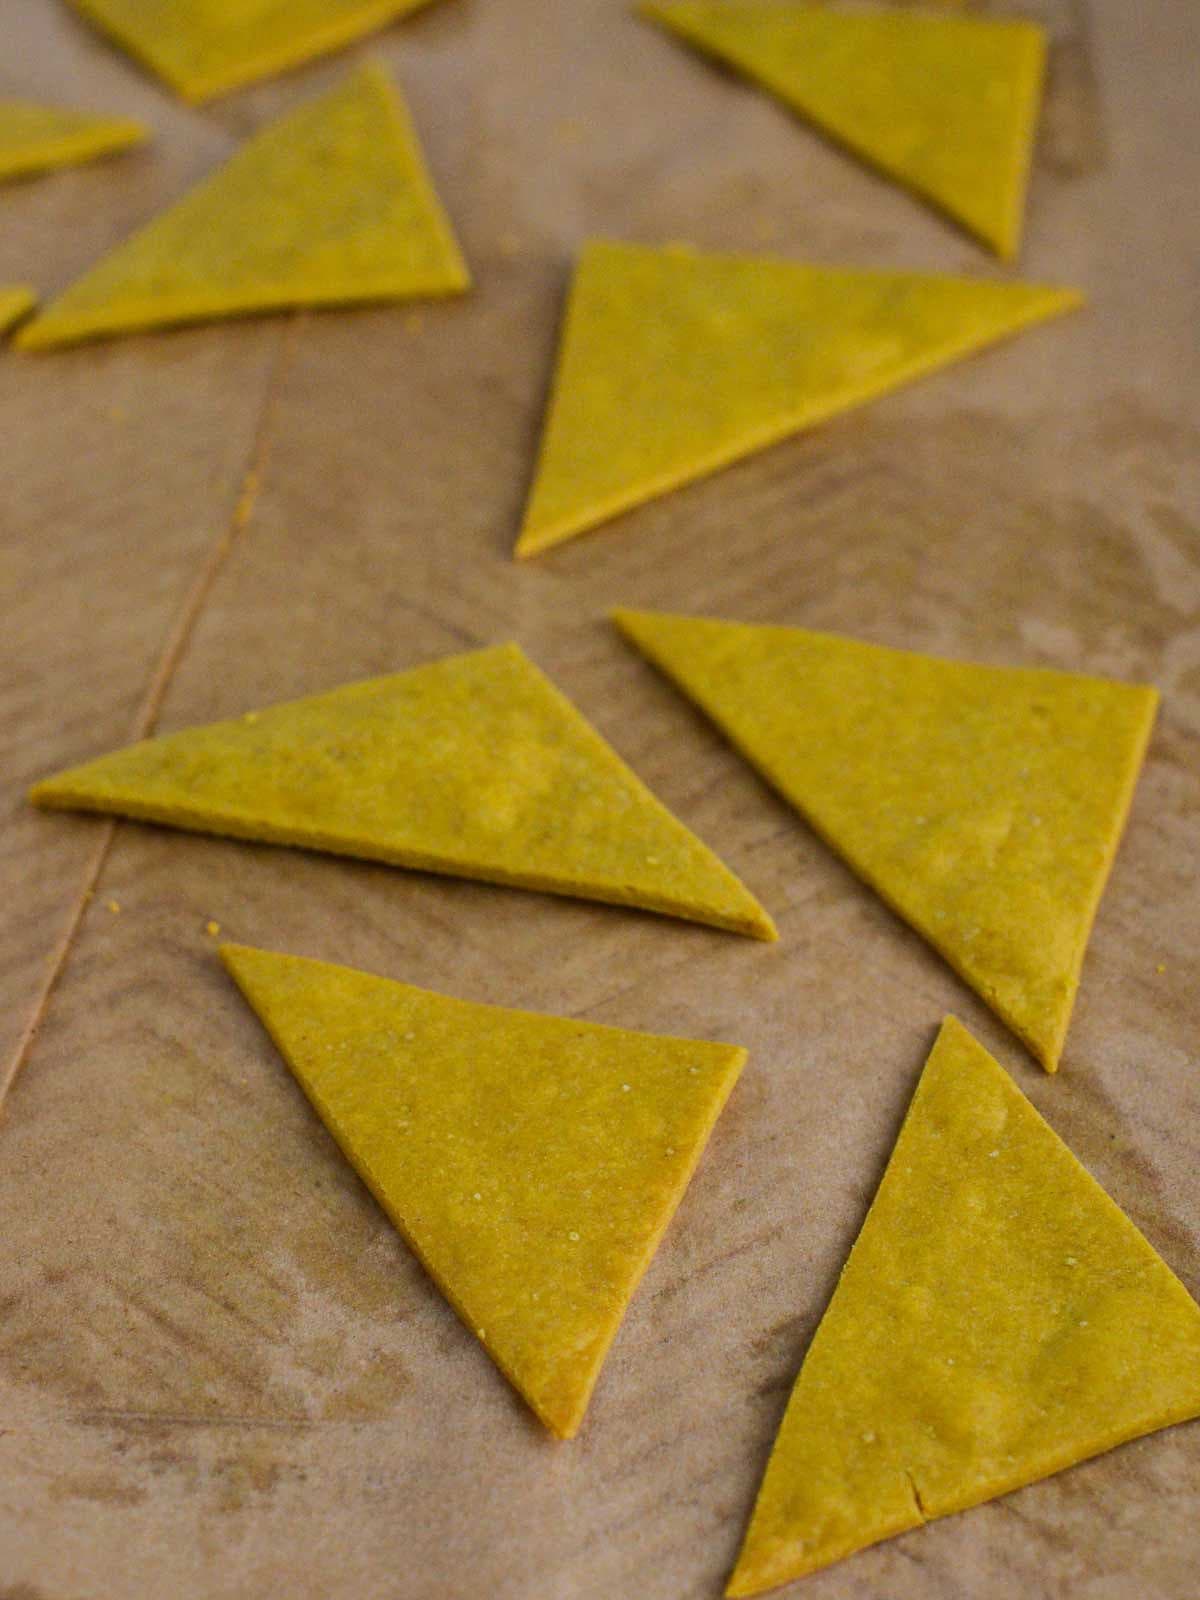
Step 5: Bake for 10-12 minutes or they are browned on the edges slightly. (Check them around 8-9 minutes as some ovens are hotter).
Let them cool for a few minutes before enjoying with your favorite dip or on their own.

❓Recipe FAQs
This could be for numerous reasons. Your chips won’t be crispy if you don’t roll out your dough thin enough. Also if you add too much water, your chips are less likely to get crispy.
Yes! They are high protein, fiber, and is gluten-free. They are a healthy alternative to fried potato chips with much less oil.
You can eat chickpea chips with hummus, guacamole, salsa, baba ganoush, or tzatziki! Check out my Dill Pickle Hummus or Everything Seasoning Hummus for some fun flavors! It would also be great with my creamy Almond Dip.
Chickpea flour tends to be higher in protein and fiber compared to some other flours like all-purpose flour, making it a potentially healthier option for those looking to increase their protein and fiber intake.

Chickpea lovers will also love these fabulous chickpea recipes:
Pro Tips
- Trick to make them crispy: Make sure to roll out your dough thin enough (between 1/8-1/2 inch) and spread them evenly on the baking sheet with no overalp.
- Cut your dough into any shapes you like: triangles, squares, or strips!
- Add other spices: chili powder, cumin, paprika, herbs, and more.
If you love to make homemade chips, try out these Ninja foodie chips made with the Ninja dual airfryer!
⇨ More Tasty Snacks ⇦
▶︎For another delish high protein app or snack, try out this Indian appetizer Tandoori Soya Chaap!
♡ Did you love this recipe? ♡
Leave a ⭐️rating and ✏️comment below (I love to read them!) Tag us on Instagram with a photo or video of your dish 📸 @naturallieplantbased.
Subscribe for more delicious recipes!
Subscribe for Free Recipes!
Get new recipe ideas from Naturallie Plant-Based straight to your inbox.
Cheesy Chickpea Chips
Save This Recipe
Want to get this recipe in your email? Just enter your email below and get it now along with new recipe updates!
Equipment
- Parchment Paper
Ingredients
- 1 cup chickpea flour*
- 3 tbsp nutritional yeast
- 1/2 tsp garlic powder
- 1/2 tsp onion powder
- 1/4 tsp turmeric
- 1/2 tsp salt
- 4-5 tbsp warm water
- 2 tbsp olive oil
Instructions
- Preheat oven to 325F.
- Sift your chickpea flour through a fine mesh strainer to remove and lumps.
- In a large bowl, combine chickpea flour with nutritional yeast and spices and whisk until fully combined.1 cup chickpea flour*, 3 tbsp nutritional yeast, 1/2 tsp garlic powder, 1/2 tsp onion powder, 1/2 tsp salt, 1/4 tsp turmeric
- Pour in your olive oil and 4 tbsp of warm water. Mix with a spoon at first then use your hands to knead the dough to incorporate the liquid. If needed, add another 0.5 tbsp of water at a time until the dough is soft but not sticky. Form into a dough ball.4-5 tbsp warm water, 2 tbsp olive oil
- Place dough ball between two pieces of parchment paper. Using a rolling pin (or a wine bottle) gently roll out the dough in multiple directions to create a large square. Roll the dough to be about 1/8-1/4 inch thick.
- Using a pizza cutter or sharp knife, cut out a square. Save the extra cuttings to roll into a dough ball again to make more chips. Cut your square into triangle shapes or whatever shape chip you prefer. Place them on a parchment lined baking sheet evenly with no overlap.
- Bake for 10-12 minutes or until they are browned on the edges slightly.
- Let them cool for a few minutes before enjoying with your favorite dip or on their own.Store in an airtight container at room temperature for 3-4 days.
Notes
- Place dried chickpeas in a high speed blender or food processor. Blend on high until it forms a flour. Strain through fine-mesh strainer to get rid of any lumps.
- Use your hands to knead the dough (a spoon will not get the job done!)
- Roll your dough out thinly between two pieces of parchment paper. I rolled mine out to ~1/8 inch (pretty thin!) so they got really crispy!
- Store leftovers in an airtight container for up to 5 days.
- Serve with Dill Pickle Hummus or Everything Seasoning Hummus for some fun dipping flavors!

Hi
Can you freeze the chips?
Thanks!
Hi Kim! I personally have not frozen these chips (I ate the batch too fast – haha!) They may become soggy when they defrost so these may not be the best freezable snack. If you try it though, please let me know! 🙂 – Allie