Vegan Red Velvet
Cookies
“My BIL is coming to visit with my sister for Christmas ans Ive been trying a million different vegan recipes…”

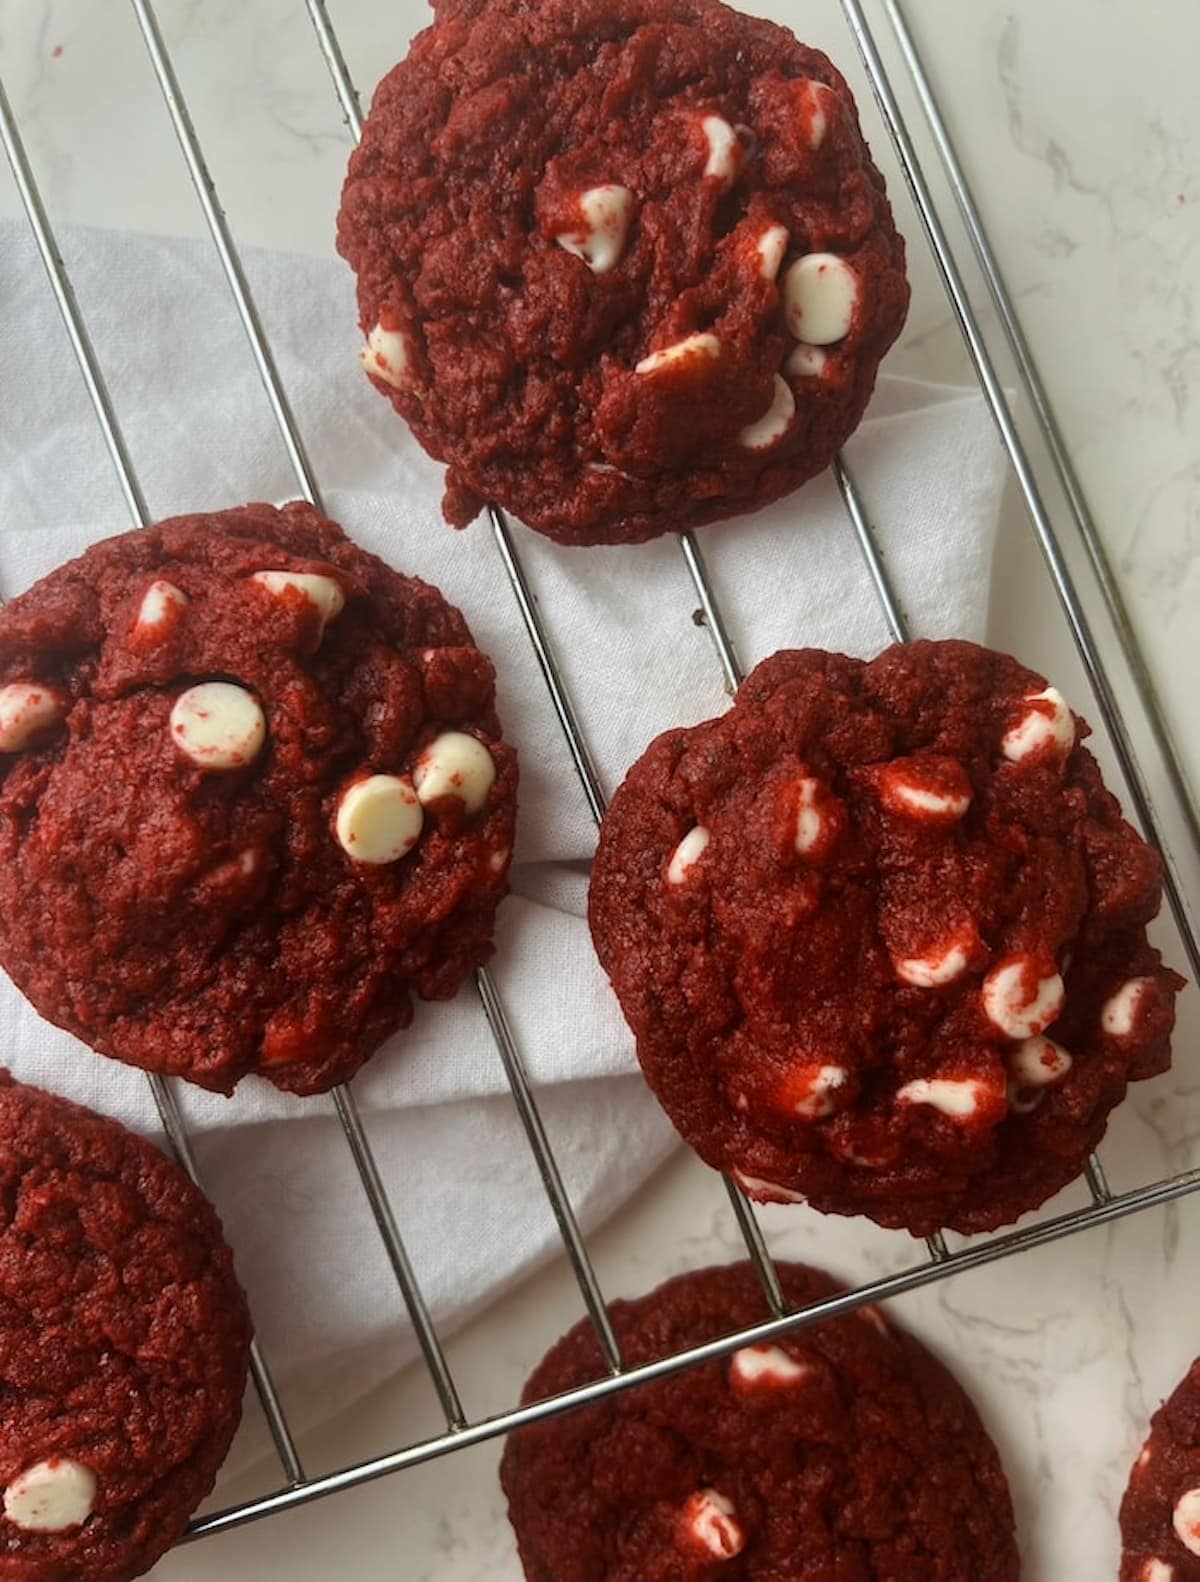
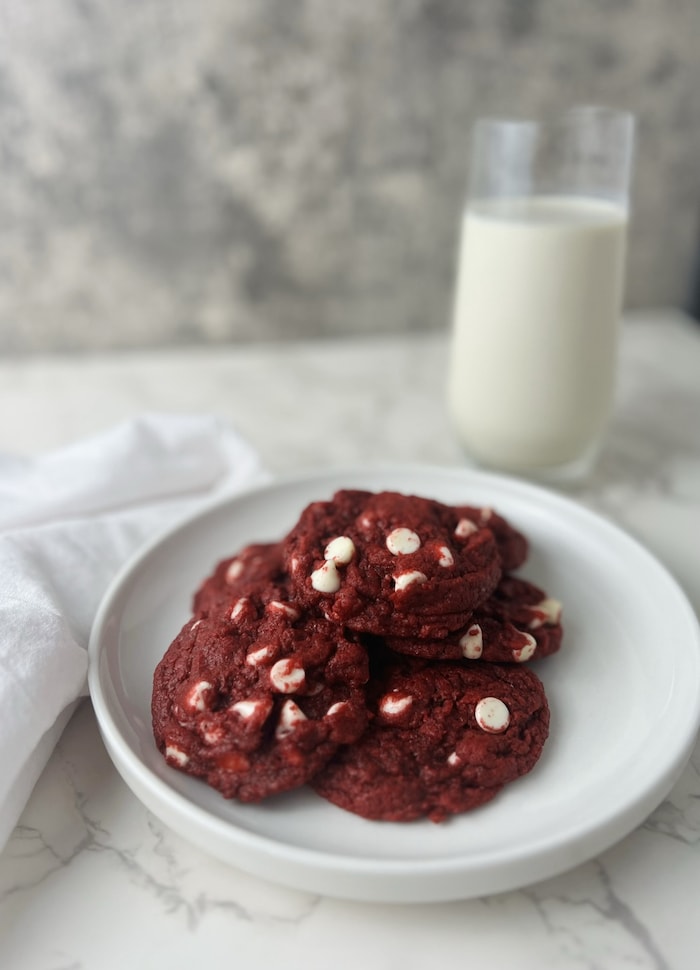
Soft, warm, and gooey vegan red velvet cookies are an easy and delicious dessert you will love. Packed with melty white chocolate chips, they are the perfect cookie for Valentine’s Day or any time!
What you’ll love about this recipe:
▶︎Want more delicious cookie recipes? Check out these gooey Vegan hot chocolate cookies or these No-bake Pumpkin Cookies that are super easy to make in less than 20 minutes! These Banana Pudding Cookies are great for picnics!
What is Red Velvet?
Red velvet, typically seen in cakes or cupcakes, is a vibrant red or crimson colored dessert. It’s made by combining chocolate and vanilla flavors, with a touch of cocoa powder to give it a rich and deep flavor. The red color is typically achieved using food coloring, although some recipes use natural ingredients such as beets to achieve the same effect.
Red velvet is also amazing in cupcakes! Check out these amazing vegan red velvet cupcakes for another vibrant dessert!
Ingredients:
- Brown sugar: Make sure you pack brown sugar to get an accurate amount of this recipe
- White sugar (Granulated sugar): Make sure it’s free of clumps
- Vegan butter: Use butter from a stick NOT A TUB (Tub butter usually has a higher water content which will alter the consistency of the cookies).
- Red food dye: You can adjust this amount to create your desired cookie color. You can also use gel food coloring but this is more concentrated so you will need less compared to the food dye.
- Vanilla extract: One of the key ingredients for red velvet that give the cookies added flavor
- All-purpose flour: This type of flour creates the best cookies. If you are gluten-free, you can substitute for a Gluten-free flour as directed on this website.
- Natural Cocoa powder: Another key ingredient in creating a red velvet cookie is cocoa powder which helps create that velvety texture and taste.
- Baking powder: Helps our cookies rise! Make sure yours is fresh (<6 months old!)
- Salt: Just a dash to balance out the sweet flavors
- Non-dairy milk: Such as soy or almond (unsweetened)
- Vegan white chocolate chips:Vegan white chocolate chips can be found at many grocery stores and health food stores. Look for them in the baking aisle, or in the natural and organic section of the store. You can also find them online from a variety of retailers. Some brands of vegan white chocolate chips include Enjoy Life and Dee Best.
Be sure to check out the full recipe for exact measurements
Substitutions
If you don’t have vegan white chocolate chips on hand, there are several substitutions you can use in this recipe for vegan red velvet cookies. Here are a few ideas:
- Vegan semisweet chocolate chips: These will give your cookies a more traditional chocolate flavor.
- Chopped nuts: Add some chopped nuts, such as walnuts or pecans, for a crunchy texture.
- Dried fruit: Dried cranberries or cherries would be a delicious and colorful addition to the cookies.
- Coconut flakes: Toasted coconut flakes would add a tropical twist to the cookies.
You can also use different extracts in the cookie dough. For example, you could use peppermint extract or try adding a splash of orange or lemon extract for a citrusy flavor. Finally, you can experiment with different food colorings to achieve different shades of red. Some natural options include beet juice or pomegranate juice.
Equipment
- Large bowl
- Hand mixer
- Baking sheet with parchment paper
- Wire cooling rack (optional)
Instructions
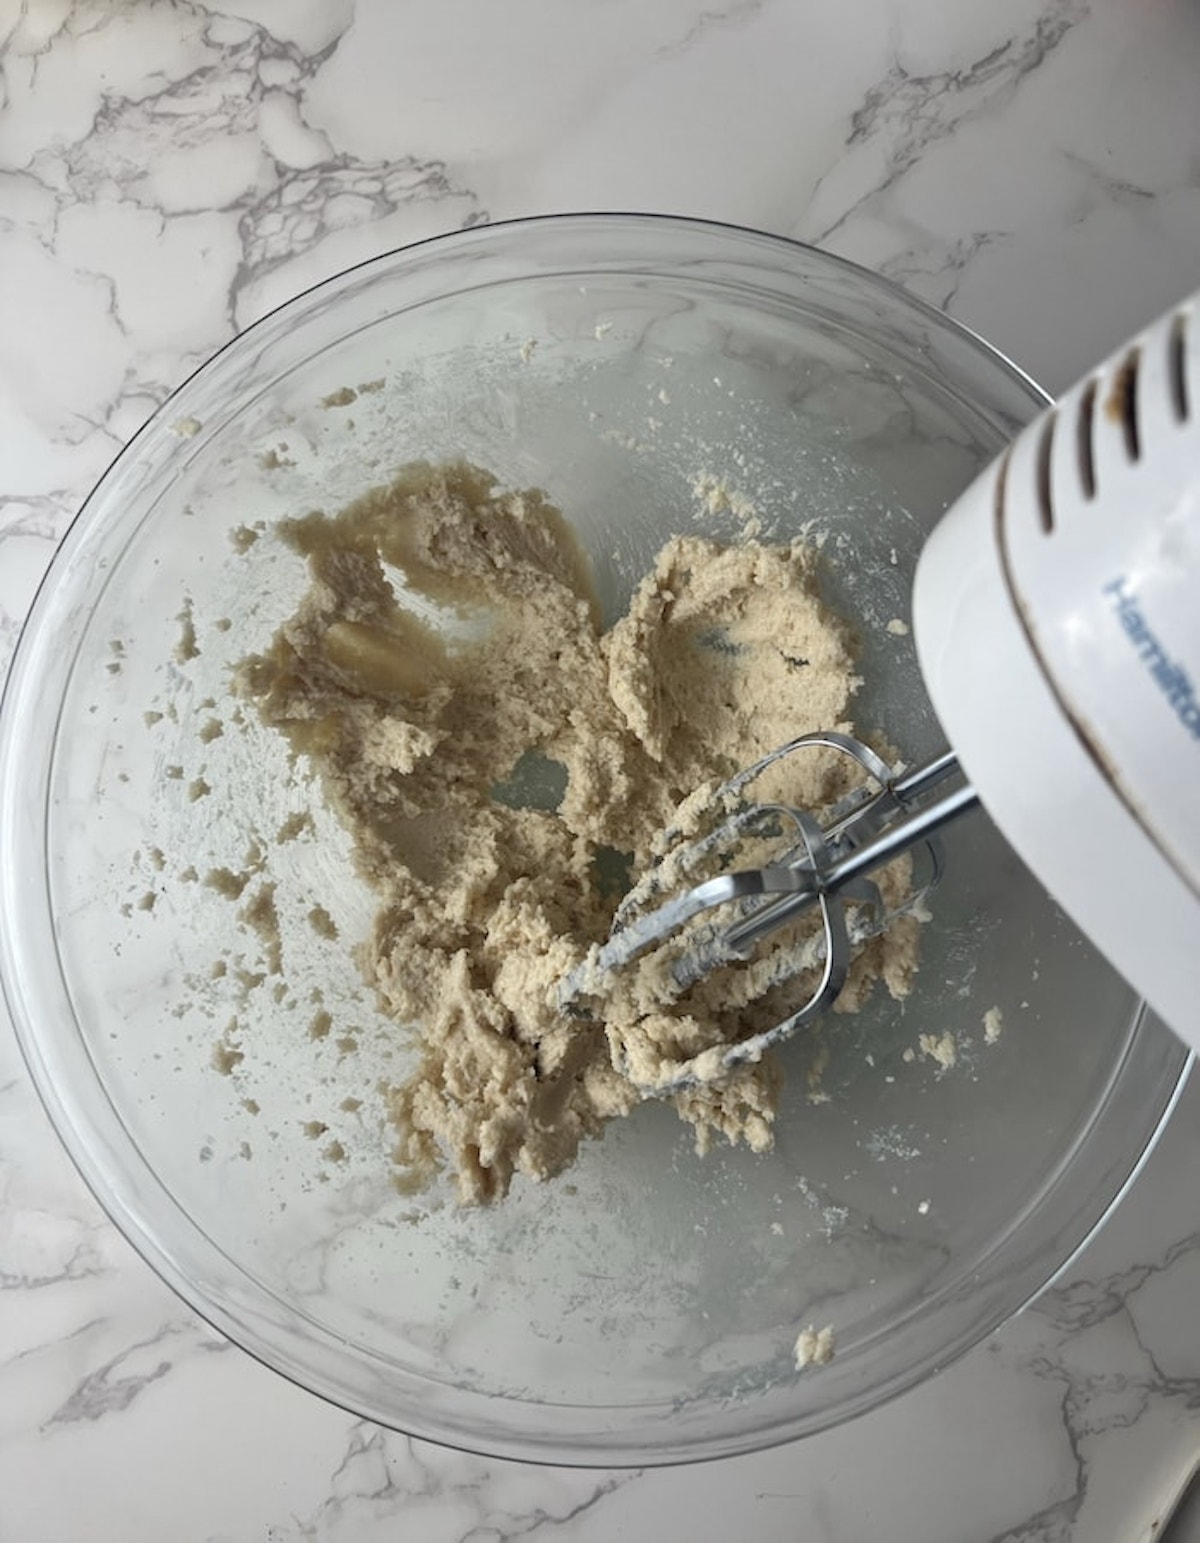
Step 1: Preheat oven to 350F. Start by creaming together your butter and granulated sugar with a hand mixer in a large bowl.
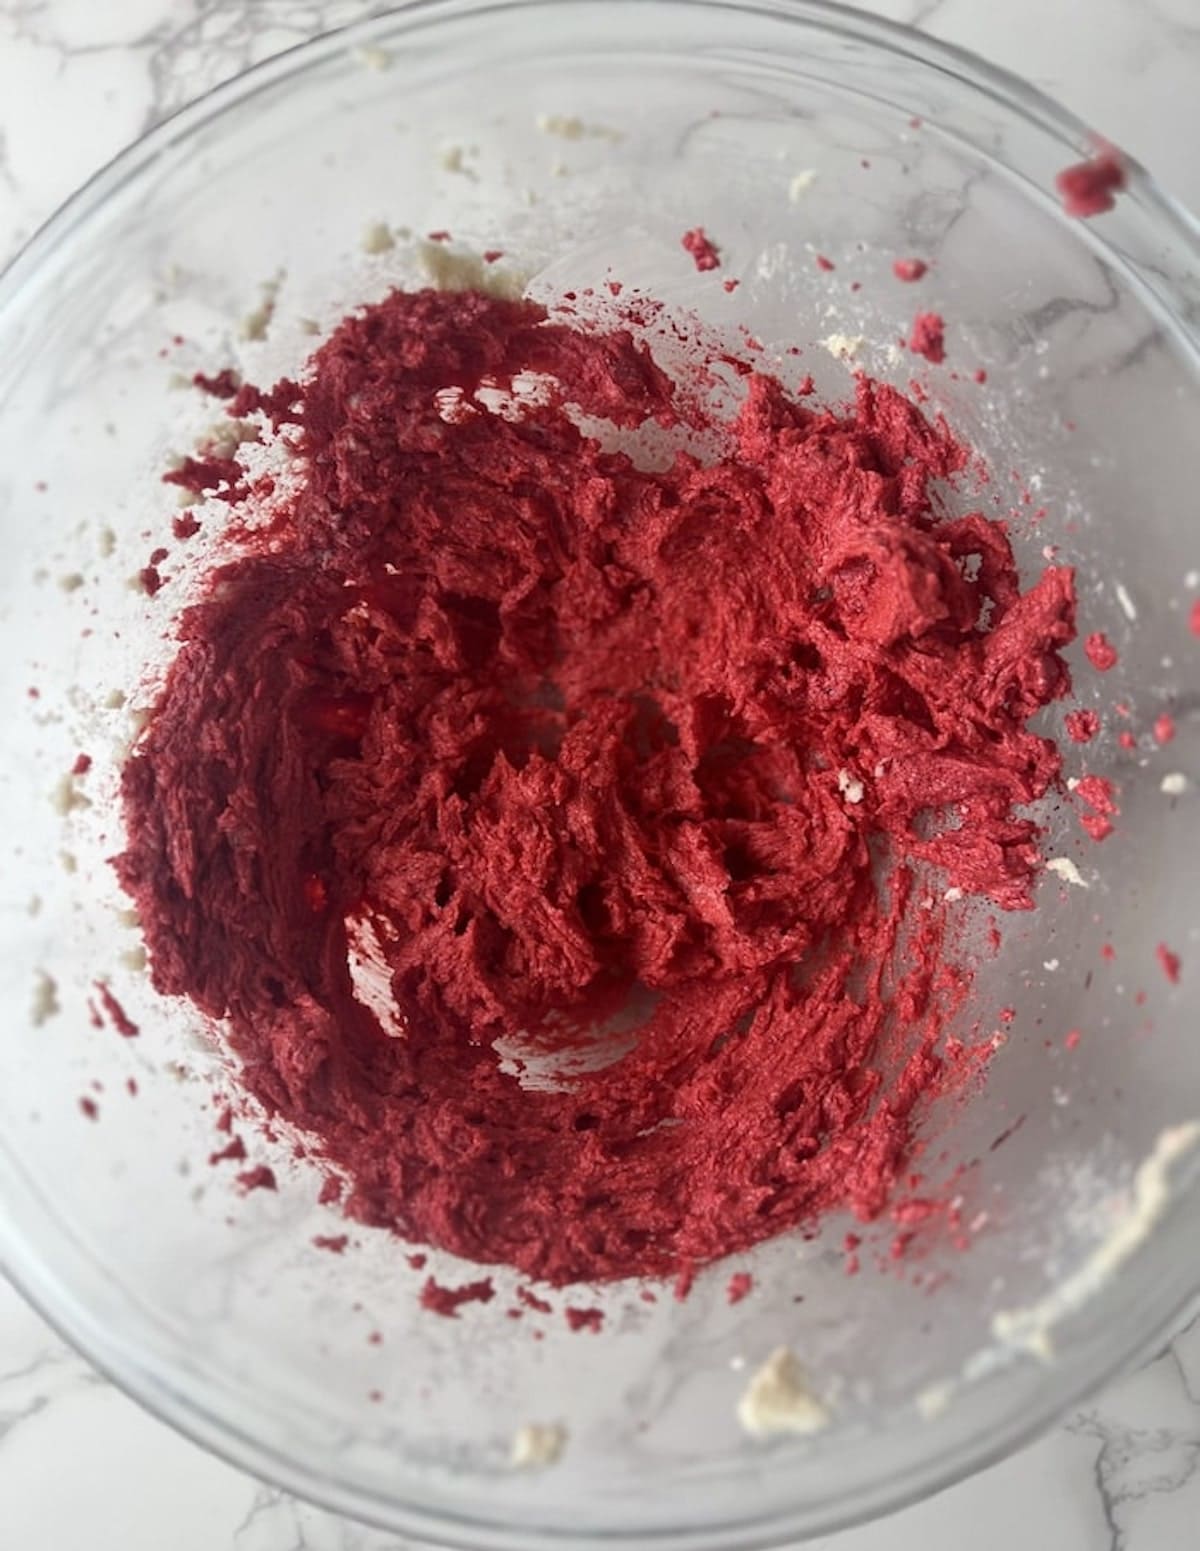
Step 2: Add in other wet ingredients: red food coloring, vanilla, and milk and mix again. Add enough food coloring until the batter is a deep red color.
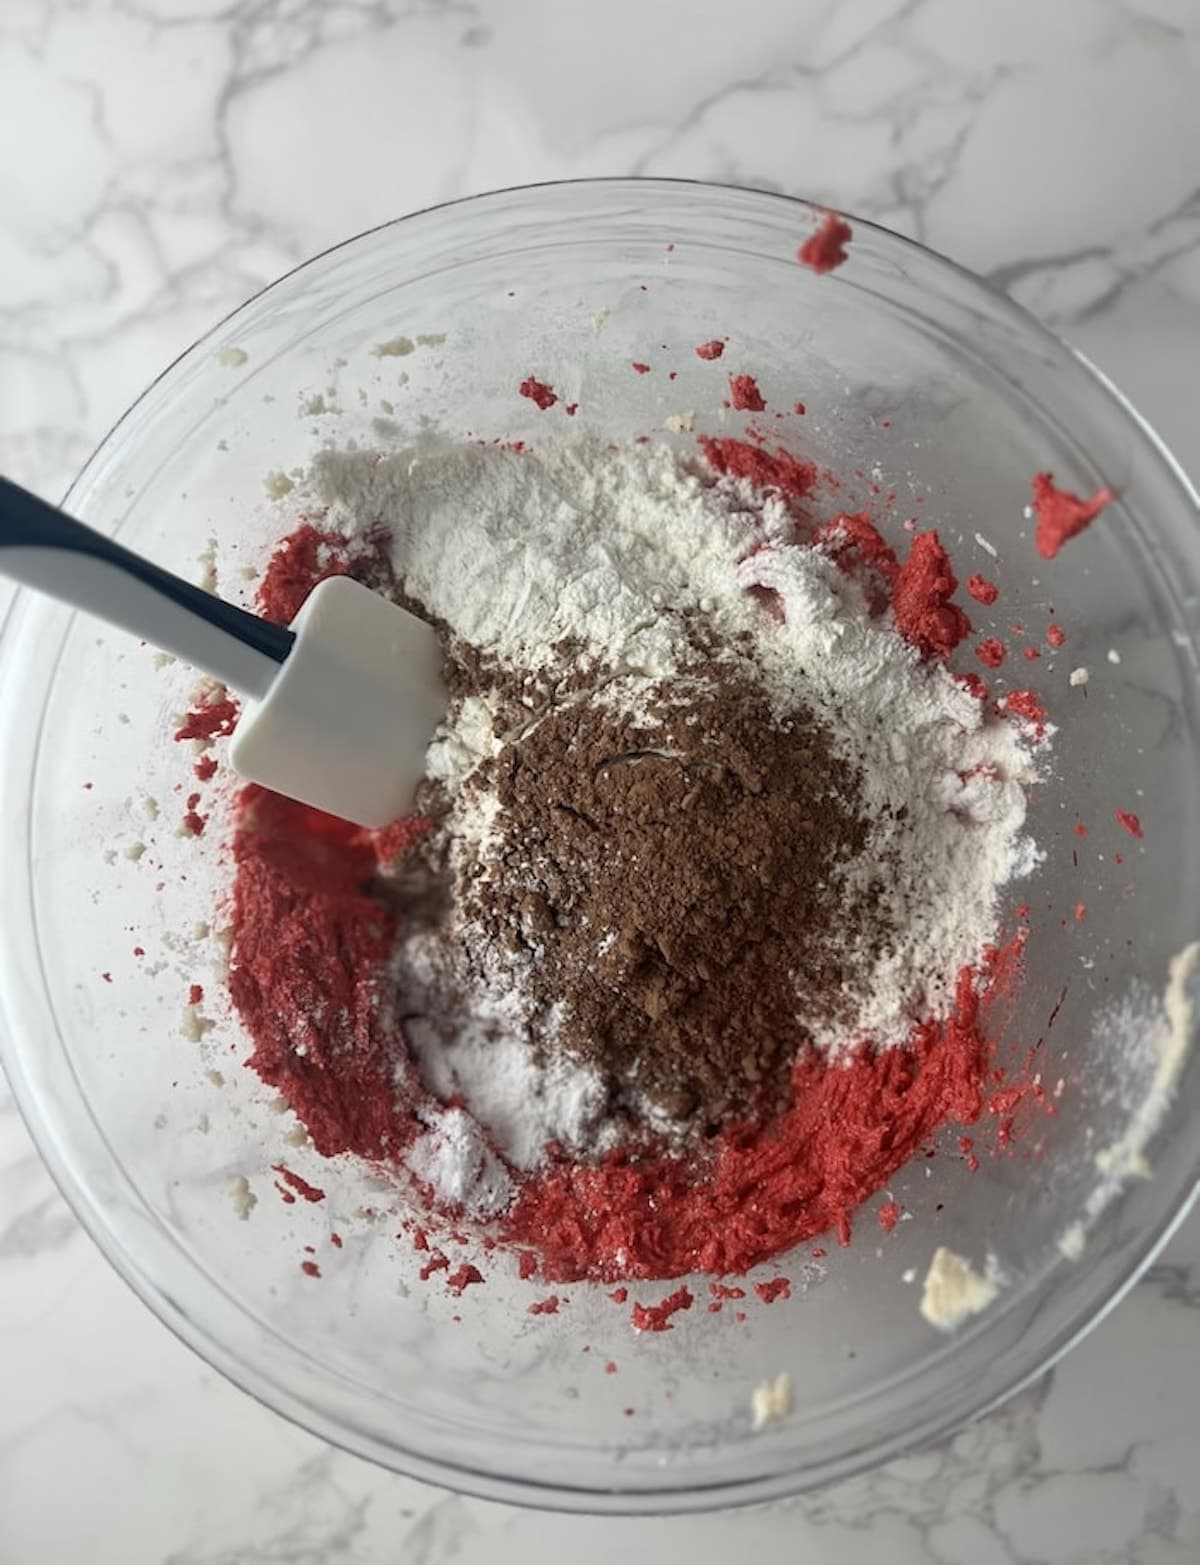
Step 3: Add in dry ingredients: flour, cocoa powder, baking soda and salt. Mix.
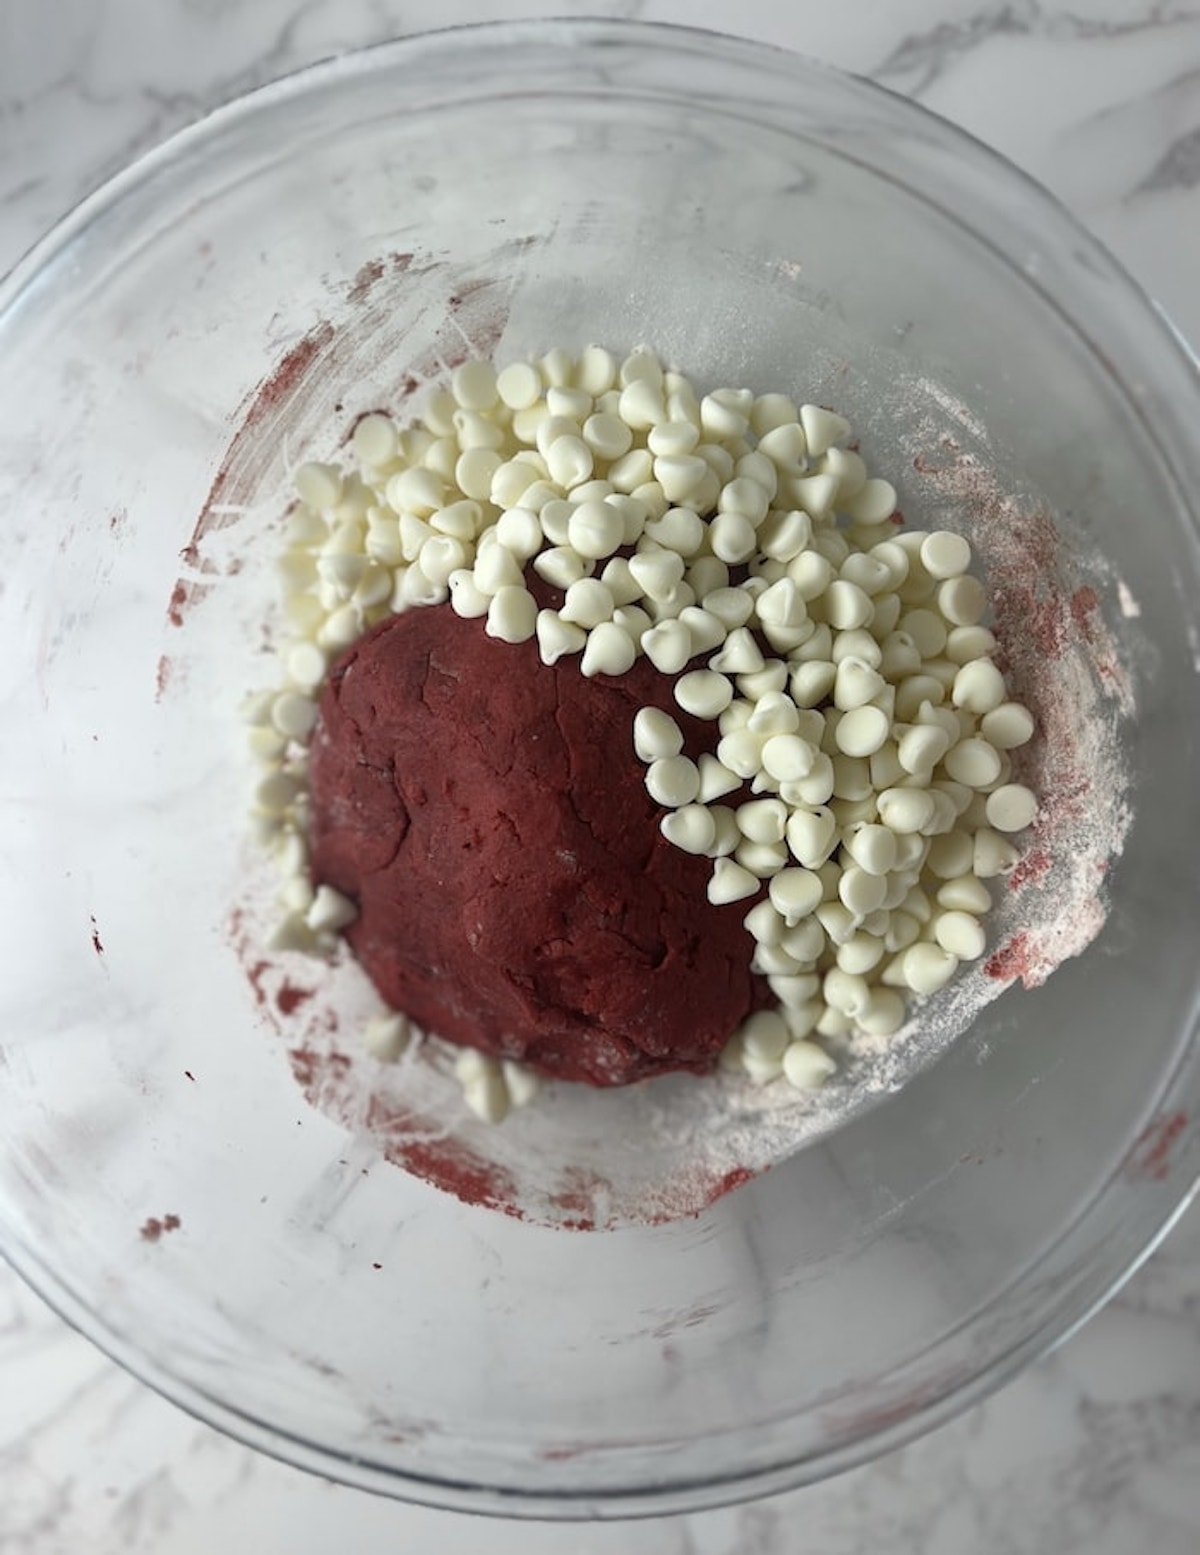
Step 4: Fold in vegan white chocolate chips.
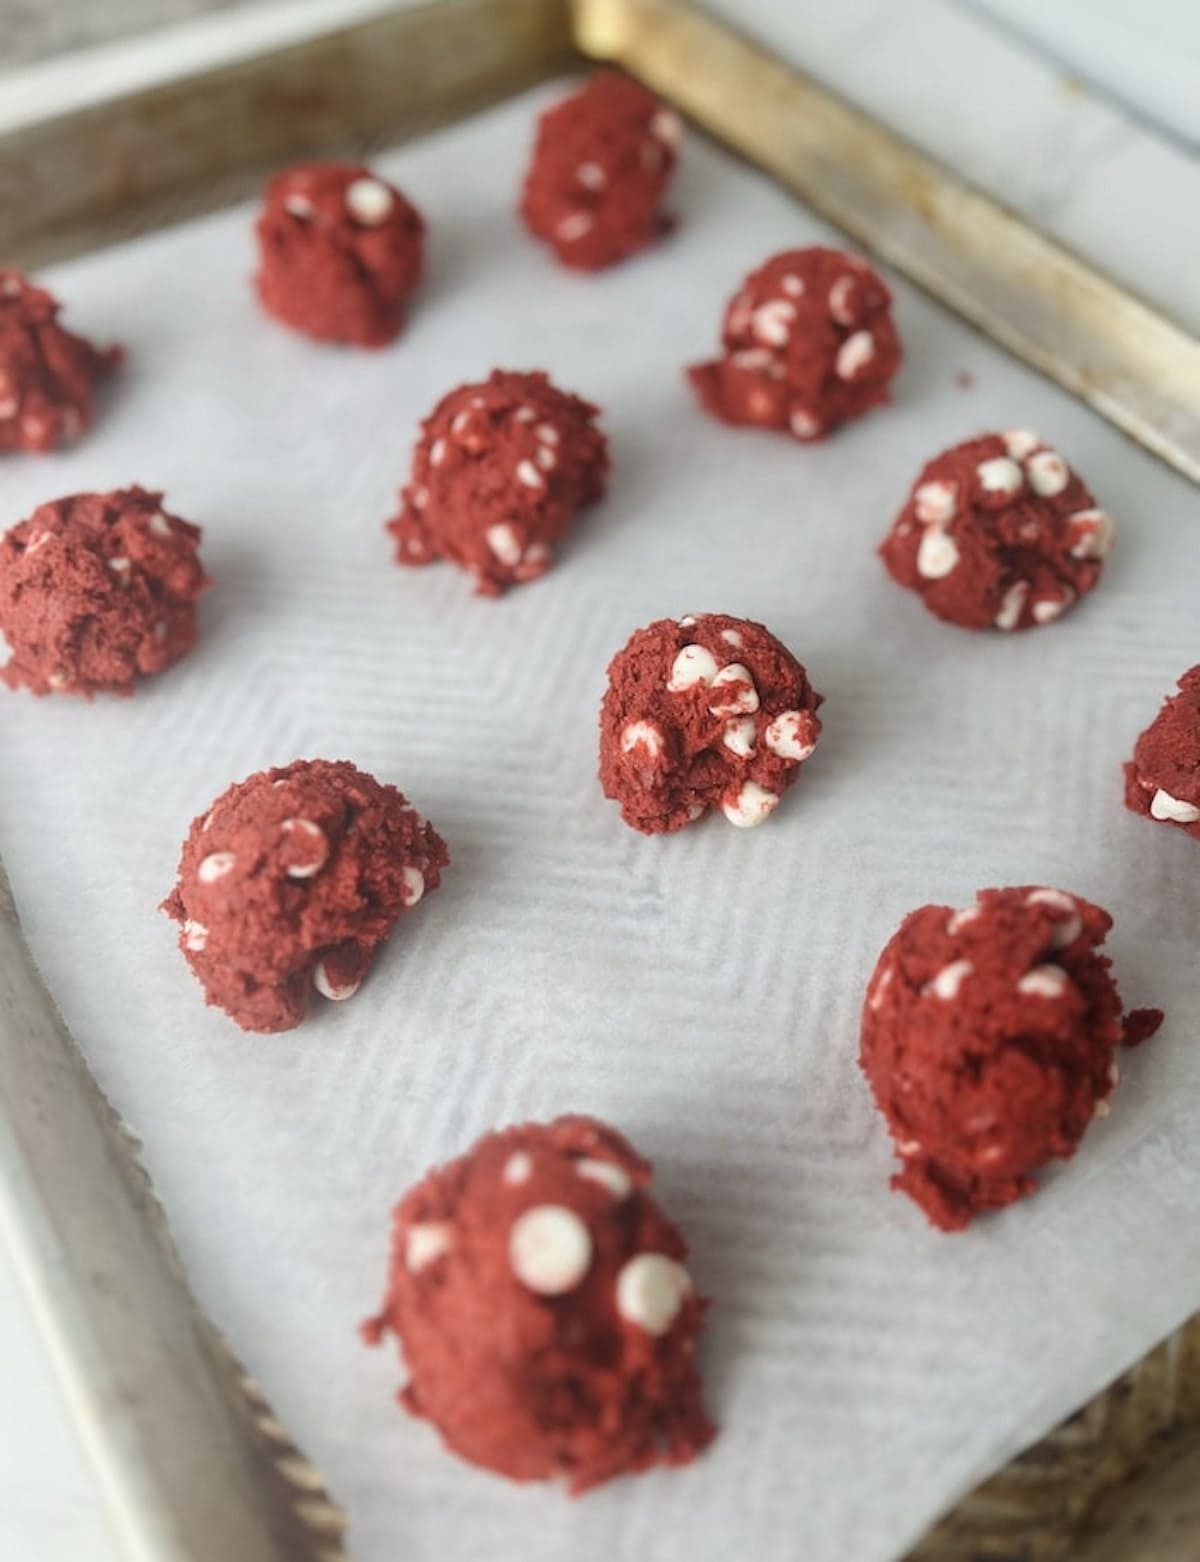
Step 5: Form into uniform balls and place on a parchment-lined cookie sheet (I was able to make about 20 cookies). You can use an ice cream scooper to help make uniform sized cookies. Bake in a preheated oven for 13-15 minute until cookies have risen. They will be slightly soft but will firm up as they sit.
Step 6: Let cool on on the baking sheet for 10 minutes and then transfer to a wire rack to continue cooling.
Storage
To store vegan red velvet cookies, let the cookies cool completely after baking. Place them in an airtight container, and store them at room temperature for up to 5 days.
Alternatively, you can freeze the cookies for longer storage. Place the cooled cookies in a freezer-safe container, and freeze them for up to 3 months. To thaw the cookies, transfer them to the refrigerator overnight, or let them sit at room temperature for a few hours. The cookies will taste just as delicious as when they were first baked.
When to enjoy these cookies?
Enjoy this vibrant delicious cookie for Valentine’s Day or Christmas but can be enjoyed year round!
What other ways can I enjoy these cookies?
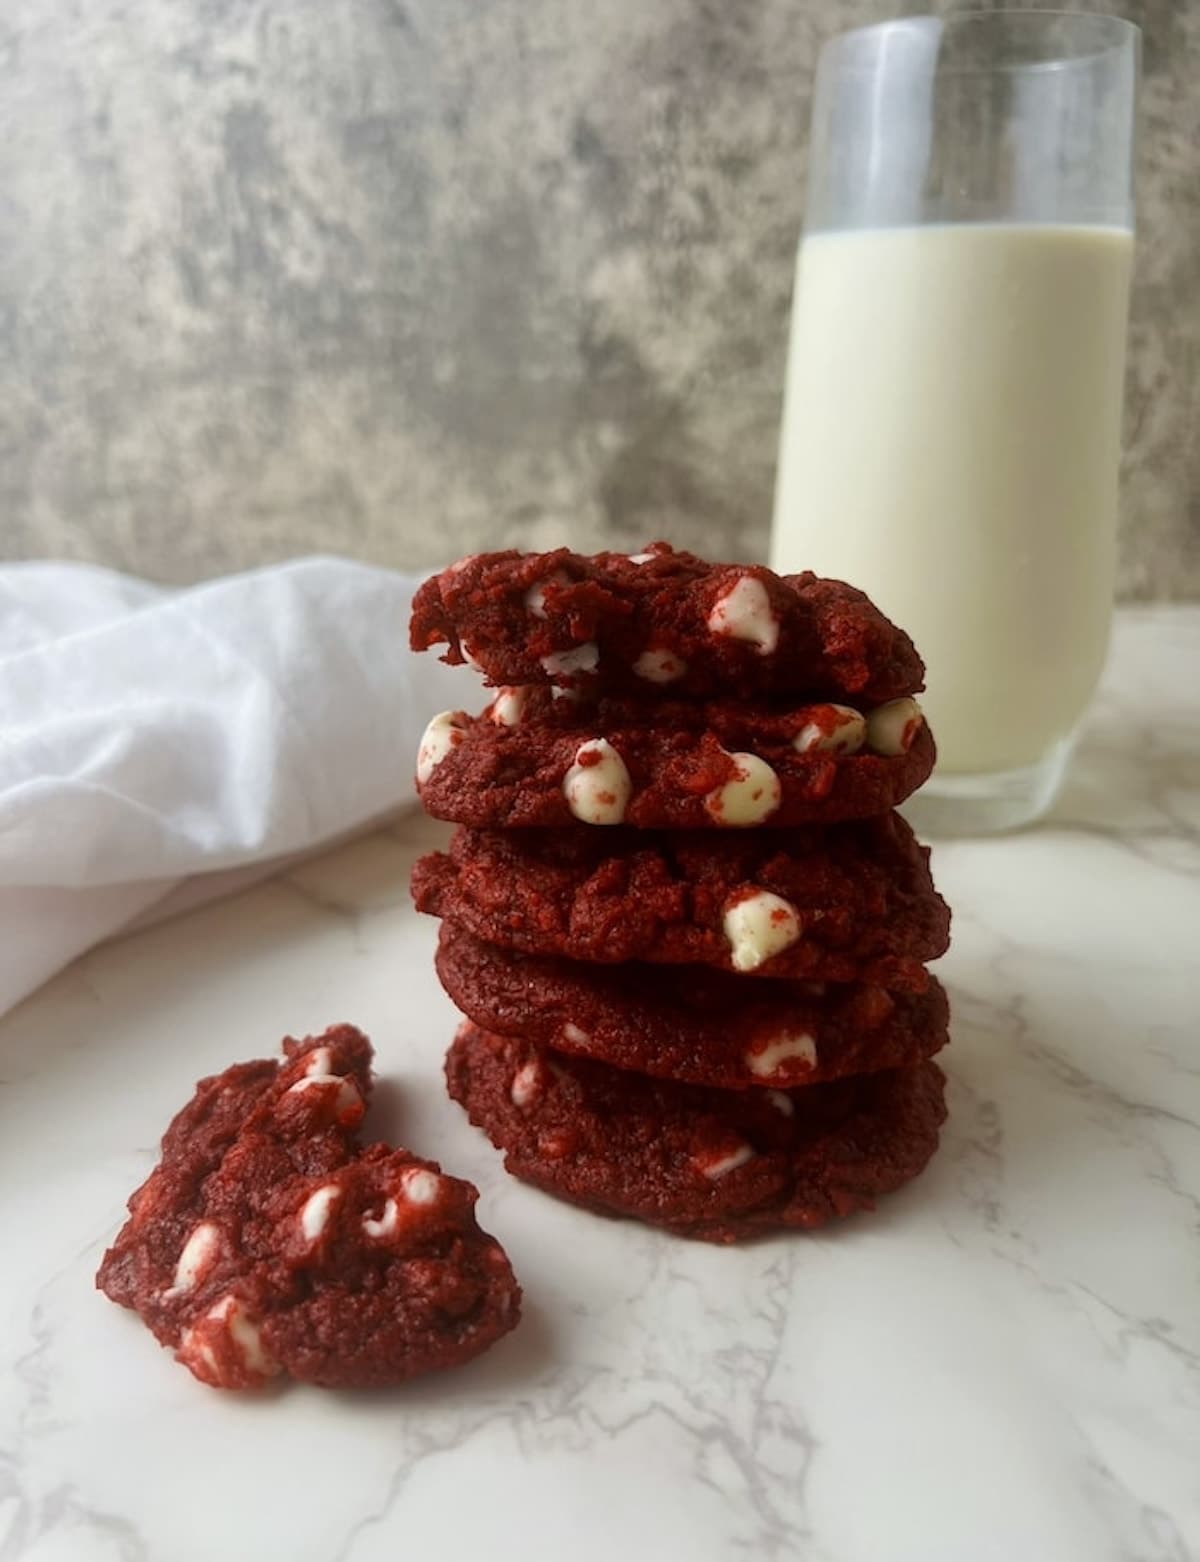
These cookies can be enjoyed on their own as a tasty treat, or used as a base for other desserts, such as a red velvet cookie sandwich filled with vegan cream cheese frosting. Serve your cookies with a cold glass of almond milk or a steaming cup of hot cocoa.
Tips
- Don’t remove your cookie from the baking sheet right away. They are soft, fragile cookies when right out of the oven. They should sit for 10-15 minutes as they settle in their shape.
- Do not use butter from a tub. Stick butter creates the best texture and flavor for these cookies.
- Using an ice cream scoop really helps create uniform circular cookies. Here is the one I use.
▶︎Looking for more delicious desserts? Try out these amazing vegan chocolate chip cookies, strawberry white chocolate cookies, or these vibrant ube butter mochi!
♡ Did you love this recipe? ♡
Leave a ⭐️rating and ✏️comment below (I love to read them!) Tag us on Instagram with a photo or video of your dish 📸 @naturallieplantbased.
Subscribe for more delicious recipes!

Subscribe for Free Recipes!
Get new recipe ideas from Naturallie Plant-Based straight to your inbox.

Vegan Red Velvet Cookies
Save This Recipe
Want to get this recipe in your email? Just enter your email below and get it now along with new recipe updates!
Ingredients
- 1/2 cup brown sugar packed
- 1/2 cup white sugar
- 1/2 cup vegan butter softened (from stick, not tub)*
- 2-3 tsp red food dye adjust to desired cookie color*
- 1 tsp vanilla extract
- 1 1/2 cups all-purpose flour
- 2 tbsp cocoa powder sifted
- 1 tsp baking powder
- 1/2 tsp salt
- 1/4 cup non-dairy milk such as soy or almond (unsweetened)
- 3/4 cup vegan white chocolate chips
Instructions
- Preheat oven to 350F.
- In a large mixing bowl, combine brown sugar, white sugar, softened vegan butter. With a hand mixer, beat until well-combined.1/2 cup brown sugar, 1/2 cup white sugar, 1/2 cup vegan butter
- Add in red food coloring, vanilla extract, soy milk and beat again.2-3 tsp red food dye, 1 tsp vanilla extract, 1/4 cup non-dairy milk
- Add in flour, cocoa powder, baking soda, and salt mix with a spoon until combined.1 1/2 cups all-purpose flour, 2 tbsp cocoa powder, 1 tsp baking powder, 1/2 tsp salt
- Sprinkle in vegan white chocolate chips and fold in.3/4 cup vegan white chocolate chips
- Form into uniform balls and place on a parchment-lined cookie sheet (I was able to make about 20 cookies). You can use an ice cream scooper to help make uniform sized cookies. Bake for 13-15 minute until cookies have risen. They will be slightly soft but will firm up as they sit.
- Let cool on on the baking sheet for 10 minutes and then transfer to a wire rack to continue cooling.
Notes
- Don’t remove your cookie from the baking sheet right away. They are soft, fragile cookies when right out of the oven. They should sit for 10-15 minutes as they settle in their shape.
- Using an ice cream scoop really helps create uniform circular cookies. Here is the one I use.
My BIL is coming to visit with my sister for Christmas ans Ive been trying a million different vegan recipes to prepare since he is vegan..These were by far my favorite treat. Delicious, moist and the perfect texture. I know he is going to love them!